写在前面
最近想折腾点服务器的新花样(总是空着太可惜了), 想到前阶段配置的jupyter, 发现这不就能部署在服务端吗?还不走流量的那种(指安装包时候), 话不多说, 开整!
下面的用户名以及组都是
test, 用于测试. 大家需要改成自己的用户名.
安装conda-forge
这里我选择了与mac上一样的conda管理环境(conda-forge), 因为mini-conda不支持m1(现在应该支持了), 对arm适配最好, 所以就一直用了, 并且其满足我对最小化安装的要求, 比mini-conda还要小, 而且是开源社区推动, 用着也放心.
首先拉取最新版的mini-forge, 这里如果网速比较慢可以先在本地下载好再上传到服务器, 链接如下:
wget https://github.com/conda-forge/miniforge/releases/latest/download/Miniforge3-Linux-x86_64.sh
然后一路安装即可, 需要注意服务器登录时候是root环境, 但是最好自己创建一个用户, 在用户目录下安装, 相对来说比较安全, 而且之后使用jupyter时候也不会出现提示root的风险等情况.
安装好后别着急用conda命令, 先source ~/.bashrc, 然后才能看到conda正确出现了.
然后, 配置一下镜像:
vi ~/.condarc
#写入:
show_channel_urls: true
auto_activate_base: false
ssl-verify: false
notify_outdated_conda: false
report_errors: false
channels:
  - https://mirrors.tuna.tsinghua.edu.cn/anaconda/cloud/conda-forge/
#  - conda-forge
  - https://mirrors.tuna.tsinghua.edu.cn/anaconda/pkgs/main/
  - https://mirrors.tuna.tsinghua.edu.cn/anaconda/pkgs/free/
  - defaults
custom_channels:
  conda-forge: https://mirrors.tuna.tsinghua.edu.cn/anaconda/cloud
  pytorch: https://mirrors.tuna.tsinghua.edu.cn/anaconda/cloud
  pytorch-lts: https://mirrors.tuna.tsinghua.edu.cn/anaconda/cloud
刷新镜像缓存:conda clean -i;
然后创建虚拟环境(以Python 3.11为例)
conda create -n py3xi python=3.11
安装一些常用的包:
conda install jupyter numpy scipy matplotlib scikit-learn pandas pytables
pip install requests bs4 lxml scrapy
conda常用命令
下面给出一些conda管理的常用命令:
-
刷新镜像缓存
conda clean -i; -
更新conda:
conda update -n base -c defaults conda;或者更新全部:
conda update --all.注意, 如果提示
conda有更新却无法更新, 可以用Install指定最新版本的方法完成更新. -
删除虚拟环境:
conda env remove --name your_env_name; -
查看虚拟环境:
conda info -e; -
创建虚拟环境:
conda create -n py39 python==3.9; -
查看conda的镜像配置:
conda info; -
激活环境:
conda activate tf27; -
取消激活:
conda deactivate; -
查看版本:
conda -V或者conda --version; -
删除缓存(以及下载好的包文件, 不会删除已安装的包):
conda clean --all.
配置conda和jupyter
这里参考了1,2, 前提是已经通过虚拟环境安装了Python和jupyter, 然后开始:
-
生成配置文件
jupyter notebook --generate-config; - 修改密码, 这里通过Python解释器完成, 先进入ipython(当前虚拟环境下)
from notebook.auth import passwd passwd() # 之后会输出一些内容, 这些内容要放在配置文件中: - 编辑配置文件, 这里我为了方便直接在原来的基础上改了, 其实也可以新建文件之后写入, 然后指定配置文件.
# 一些需要改动的地方
c.NotebookApp.allow_remote_access = True
c.NotebookApp.ip = '*'
c.NotebookApp.notebook_dir = '/home/test/code/py_code'
c.NotebookApp.open_browser = False
c.NotebookApp.password = '通过上面的命令生成的密码'
c.NotebookApp.port = 8888
此外, 还可以配置SSL认证, 更多内容参考2.
服务器配置
开端口
8888(参考我配置的leanote文章3中给出的alias命令)
addtcp 8888
reufw
在阿里云的管理界面(防火墙)进行相应操作.
添加守护进程
mkdir -p ~/code/py_code
cd ~/code/py_code
vi start_jupyter.sh
加入下面的内容1:
#!/bin/bash

source /home/test/miniforge3/etc/profile.d/conda.sh
conda activate py3xi

jupyter-notebook >> jupyter.log 2>&1
最后改一下权限:
chmod 755 start_jupyter.sh
然后创建一个systemd管理文件:
vi /lib/systemd/system/jupyter.service
内容是:
[Unit]
Description=jupyter server

[Service]
PIDFile=/run/jupyter.pid
User=test
Group=test
Type=simple
WorkingDirectory=/home/test/code/py_code
ExecStart=/home/test/code/py_code/start_jupyter.sh
Restart=always
RestartSec=10

[Install]
WantedBy=multi-user.target
写入完成之后, 设置一下服务:
sudo systemctl daemon-reload
sudo systemctl start jupyter.service
sudo systemctl enable jupyter.service
sudo systemctl status jupyter.service
看看结果:
● jupyter.service - jupyter server
     Loaded: loaded (/etc/systemd/system/jupyter.service; enabled; vendor prese>
     Active: active (running) since Sat 2022-12-03 18:39:39 CST; 8min ago
   Main PID: 555 (start_jupyter.s)
      Tasks: 2 (limit: 4427)
     Memory: 136.2M
     CGroup: /system.slice/jupyter.service
             ├─555 /bin/bash /home/test/code/py_code/start_jupyter.sh
             └─990 /home/test/miniforge3/envs/py3xi/bin/python3.11 /home/test>

Dec 03 18:39:39 hostname systemd[1]: Started jupyter server.
通过tail -f查看日志:
$ tail -f code/py_code/jupyter.log
0.01s - Debugger warning: It seems that frozen modules are being used, which may
0.00s - make the debugger miss breakpoints. Please pass -Xfrozen_modules=off
0.00s - to python to disable frozen modules.
0.00s - Note: Debugging will proceed. Set PYDEVD_DISABLE_FILE_VALIDATION=1 to disable this validation.
[W 19:05:31.292 NotebookApp] WARNING: The notebook server is listening on all IP addresses and not using encryption. This is not recommended.
[I 19:05:31.311 NotebookApp] Serving notebooks from local directory: /home/test/code/py_code
[I 19:05:31.311 NotebookApp] Jupyter Notebook 6.5.2 is running at:
[I 19:05:31.311 NotebookApp] http://hostname:8888/
[I 19:05:31.311 NotebookApp] Use Control-C to stop this server and shut down all kernels (twice to skip confirmation).
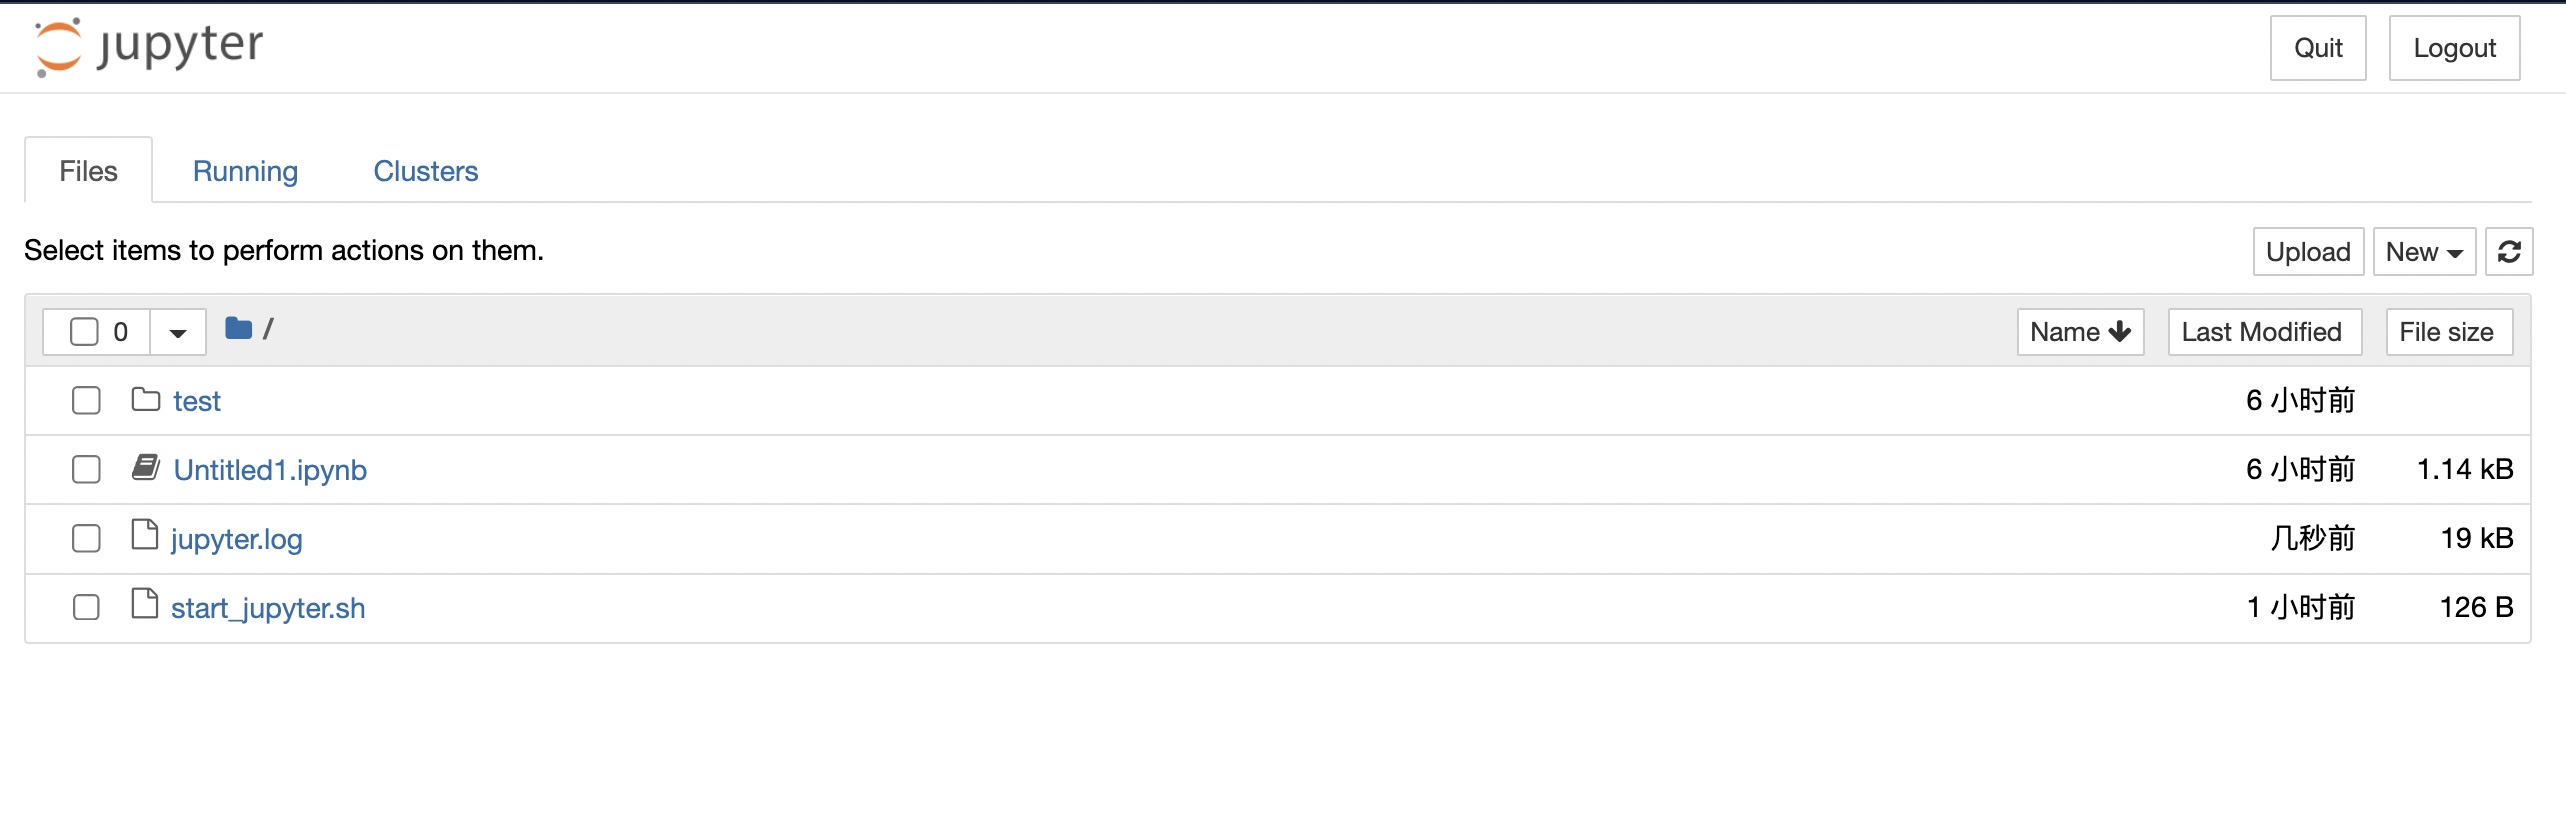
那么现在打开浏览器, 输入http://<公网IP>:8888, 然后输入刚才设置的密码, 就可以进入jupyter环境啦!
速度也是相当快(前提是网络好), 效果: